
This is my very first furniture makeover!!! It's an old school desk, and a $5 yardsale find. Score!
Be forwarned...this post is image heavy.


I was needing a desk for Rainbow's very first year in homeschool - 1st Grade! I decided to tackle this project with no prior experience whatsoever, lots of determination, and plenty of pinterest tutorials. It's certainly not perfect with a few drip spots, a small peeled spot, and a portion of mixed paint color on the side with the bars. But it's complete and perfect for Rainbow...she said so. :)
What you'll need:
- Primer
- Staple Gun
- Phillips screwdriver
- Pliars
- Paint Brush of choice
- Drop cloth
- Spray Paint of choice
- Mod Podge - Gloss Lustre
- Scissors
- X-Act Knife
- Fabric of choice
- Tape (optional)


Then let's get started!
1. You need to prime it 2 times. Let dry at least 30 min in between, maybe more depending on what brand or type you use. The primer I bought was for all surface types since I had plastic and metal on the desk.
1st Priming:

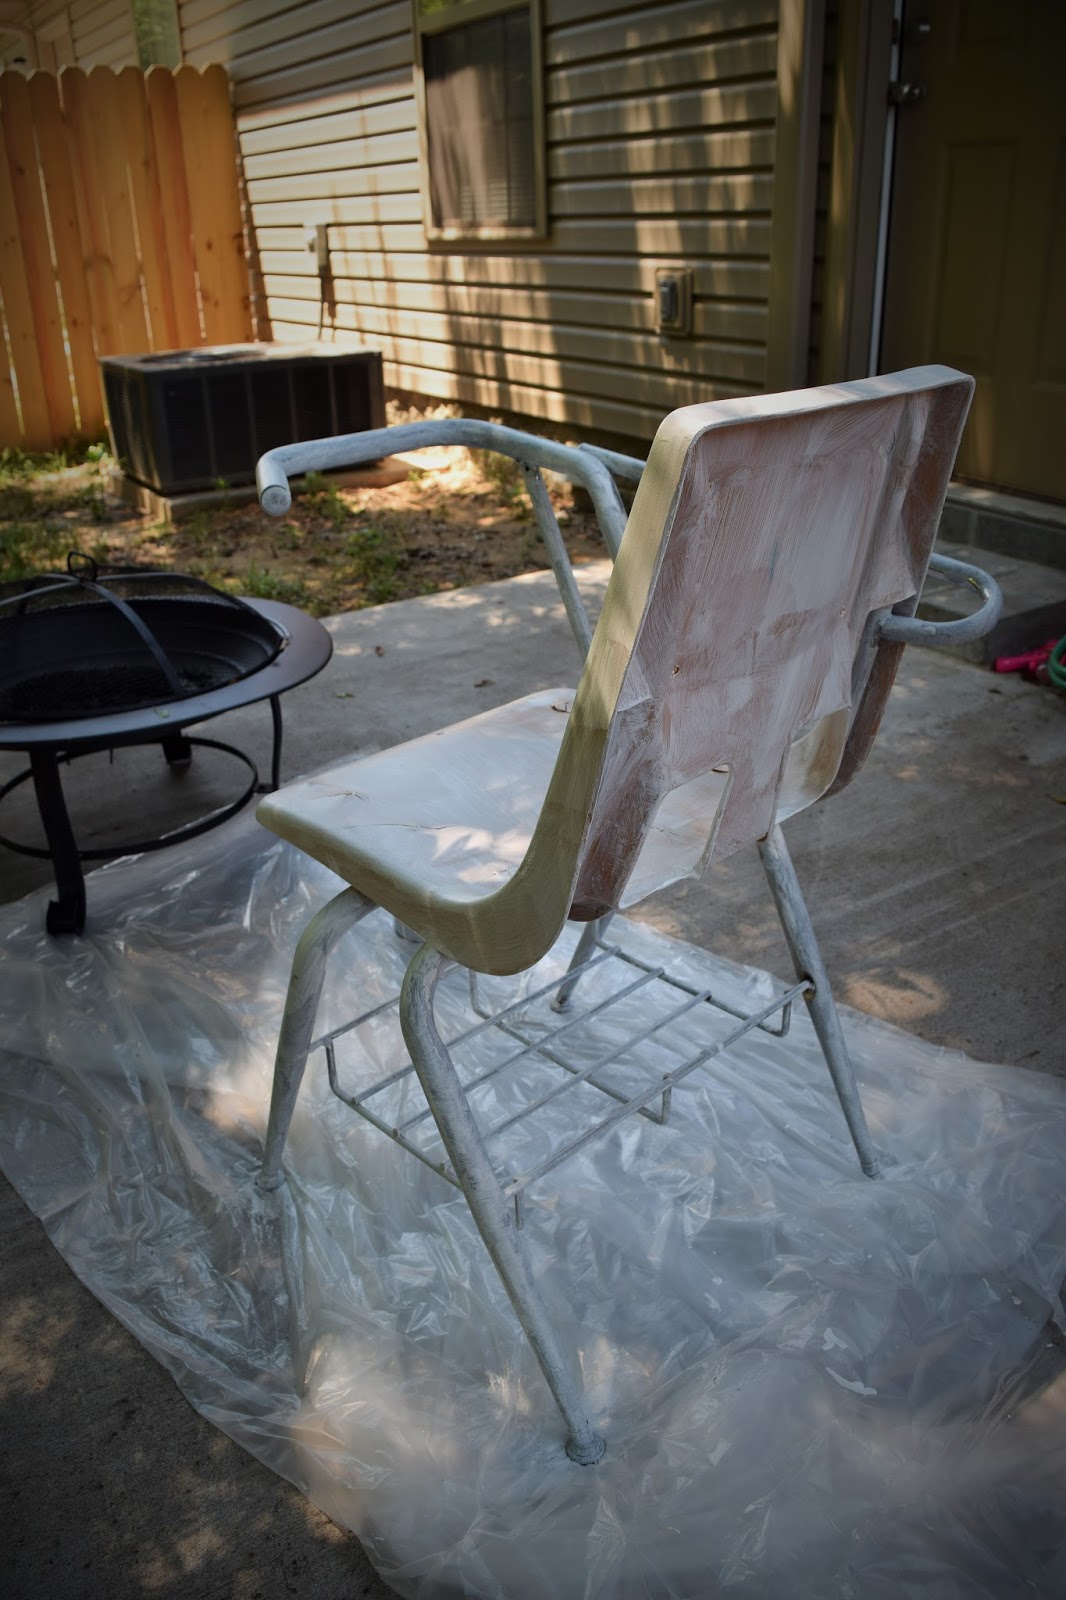
2nd Priming:


2. You need to remove the staples from the cushion and seperate the fabric from the cushion. I used regular pliars for this, but developed a few blisters.


3. Cut your fabric to size and be sure to leave an excess around the sides of at least 1 1/2 inches.

4. Use a heavy duty staple gun to begin, staple around the piece while stretching the fabric to ensure it is tight around the cusion. Notice the round edges below...it's best to fold the fabric over and staple to avoid an awkward overlap on the cushion.

This is what the head piece looked like when I was finished on the back side.

Here are my cushions...all finished!

5. Time to paint! I chose spray paint to give it a more professional, finished look and to avoid the brush strokes from painting with regualr paint. It's always best to spray paint in an outdoor area in an open space because there will be over-spray and fumes.
I used the drop cloth and scotch tape to section off the plastic chair from the metal bars. I applied two coats of the pink, with 30 minutes in between coats to allow some drying. It's better to wait an hour or two, but I was so anxious and inpatient to wait that long and kids only entertain themselves for so long!
Afterwards, I removed the dropcloth and spray painted the metal bars a lavender color. There was some overspray and a little bit of purple and pink mixed where the bars and chair met together. Again, I was going for speed and not perfection here.
Spray Paint takes an hour or two to completely dry, but it takes 24 hours at least to cure. If you want to test it to see if its cured, use your fingernail to scratch an inconspiuous area.


6. Mod Podge the fabric to the desktop. I did this by taking the primed desktop and first adding a thin layer of Mod Podge. I used my hands to roll and smooth out any air bubbles. I added two more layers of Mod Podge, allowing at least 20 minutes to dry between each application. Then I cut the exess with scissors, going back to make a clean edge with an X-Act Knife.
When this is complete, it's best to go over it with a fine-grain sandpaper. You may add as many layers of Mod Podge as you wish, sanding each time to make smooth and remove brush-strokes.
Mod Podge can take 3-4 weeks to completely cure, so its best to use some type of sealant. My next trip to Wal-Mart or Lowe's, I'm going to pick up a spray can of sealant or polycrylic to seal it.

Drumroll.........The finished result!!!!!


So that's it! Leave me some love and tell me what you think.
Have a great day and do some DIY!


No comments:
Post a Comment